Web Design 1 Assignments (subject to change)
All assignments and your personal web page must be saved to your network folder in order to be graded. This is the folder for this class, not the one provided by the school district.
Your site must be saved in the folder named mysite. You must show assignments to me in class for grading. Video: Working from home using Google Drive
The software is downloadable here https://code.visualstudio.com/. Other options.
- https://brackets.io/?lang=en
- https://notepad-plus-plus.org/
- https://www.sublimetext.com/
May 27
Dharma Yoga Responsive HTML and CSS Website Tutorial
- OBJECTIVE: Use HTML5 and CSS3 to build a responsive website
- Save each index page with the video number at the end. E.g. index1.html, index2.html
- The files must be saved in the Dharma Yoga Starter Files folder. This has been copied to your folders.
- The videos are available here or in the student files folder.
- When You are working on video 1 your index page is saved as index1.html.
- When you go to video 2 click on File and Save As index2.html.
- This means that by the time you are done you will have 7 different index pages and 7 different style sheets.
- Also save the style sheet this way. The style sheet for video 2 would be saved as style2.css. This means you also need to update the link to the stylesheet in the index page. For example,
- CHANGE <link type="text/css" rel="stylesheet" href="styles/style1.css" media="screen">
- TO <link type="text/css" rel="stylesheet" href="styles/style2.css" media="screen">
- The images are located in your img folder not on his website. E.g. https://www.w3newbie.com/wp-content/uploads/. Make sure you change your code accordingly or the pictures will not display.
- You must tell me when you are done with a video. To do this and to submit your work, send me an email and use the subject, Dharma Video Number. Replace Number with the number of the video you are submitting.
- If you name your files incorrectly, they will not be graded until they are named correctly.
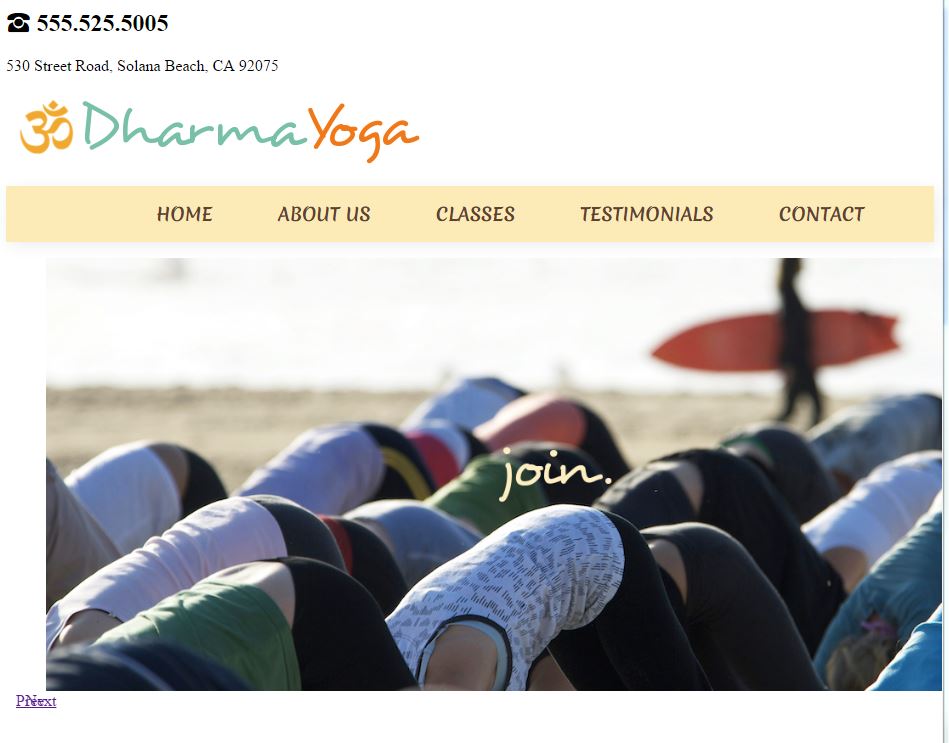
Dharma Video 1: Link to video
Dharma Video 2
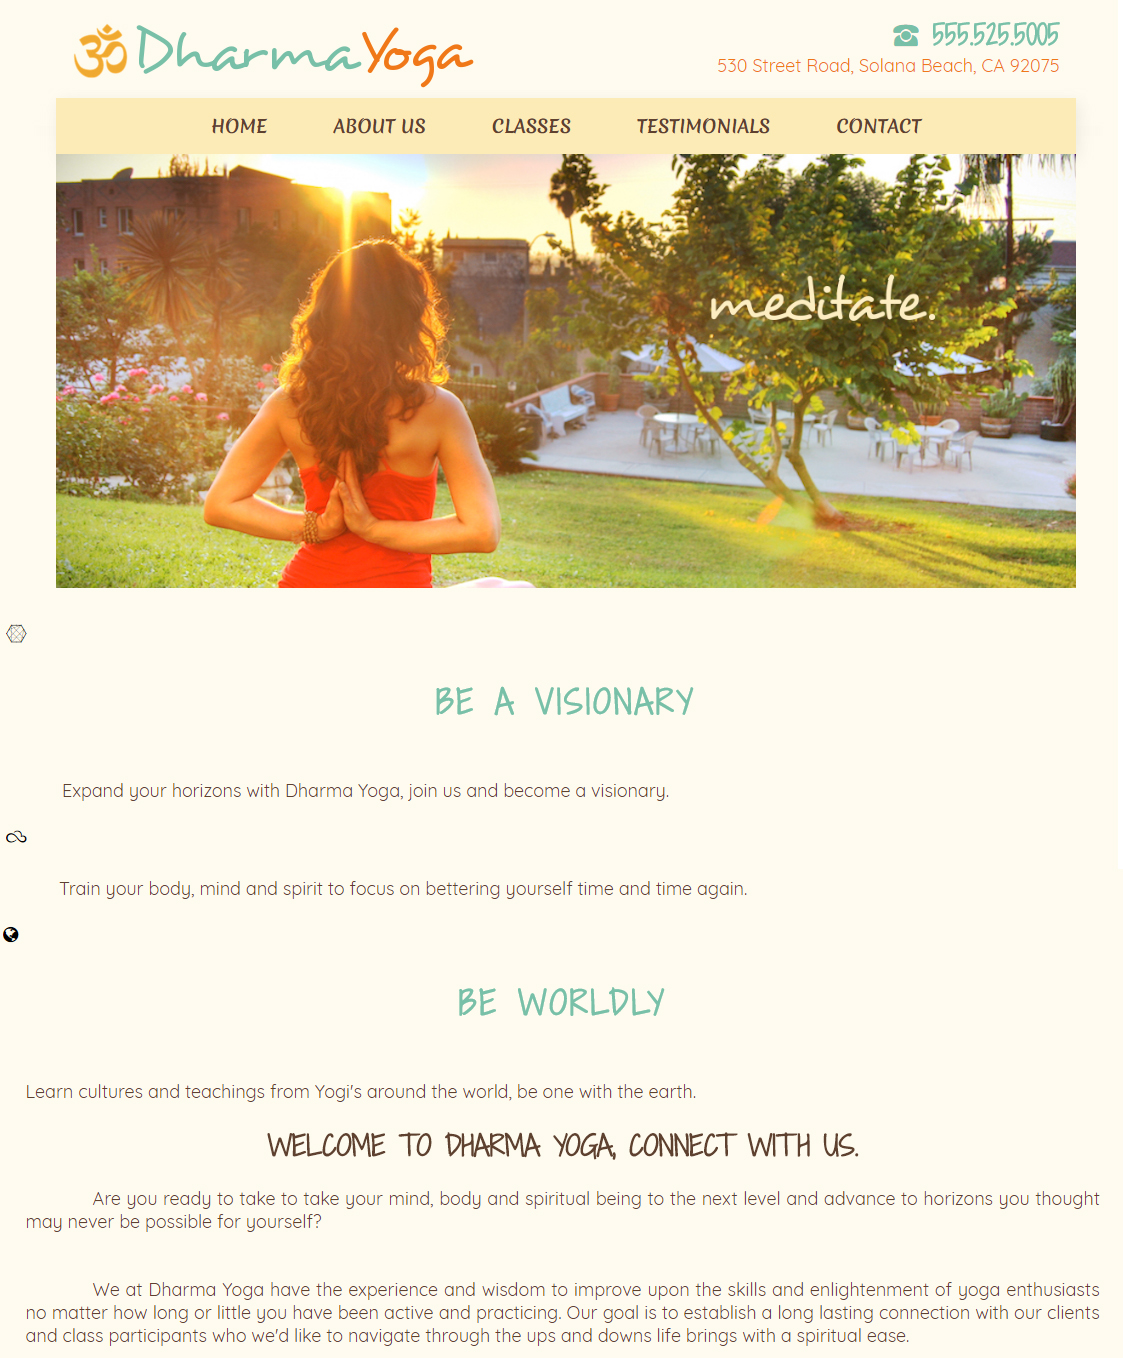
- At the end of video 2, your page should look like the image below and the slider should function.
- Make sure your preview it and test it.
- Follow the directions above to upload.
May
Dharma Yoga Responsive HTML and CSS Website Tutorial
- OBJECTIVE: Use HTML5 and CSS3 to build a responsive website
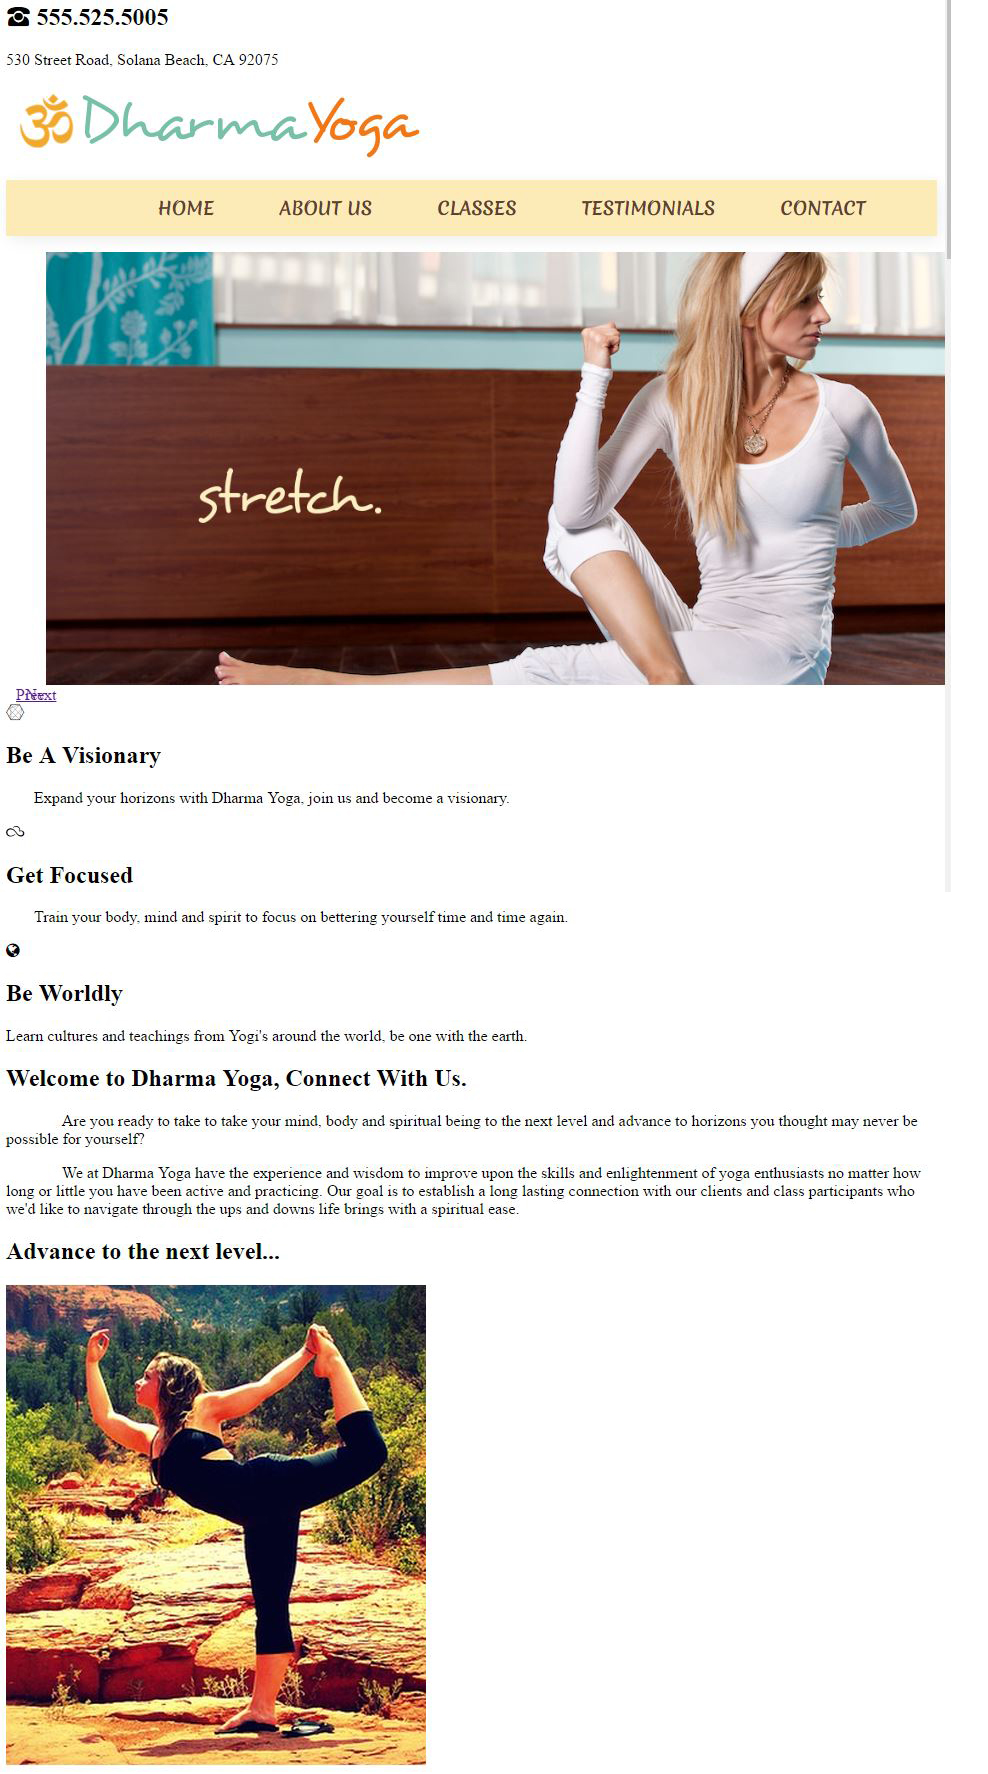
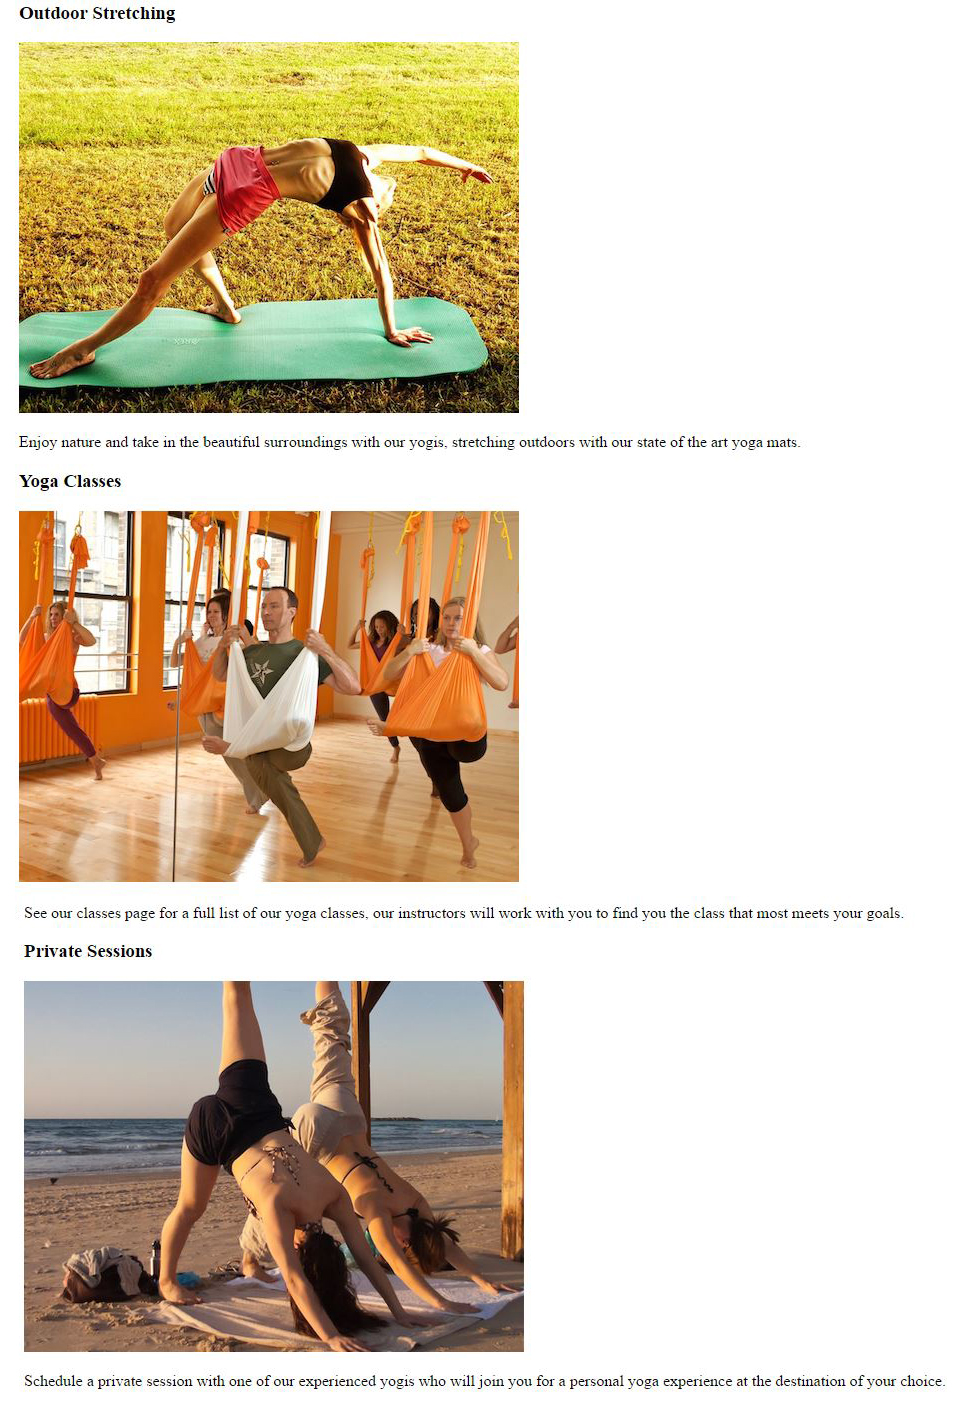
Dharma Video 3
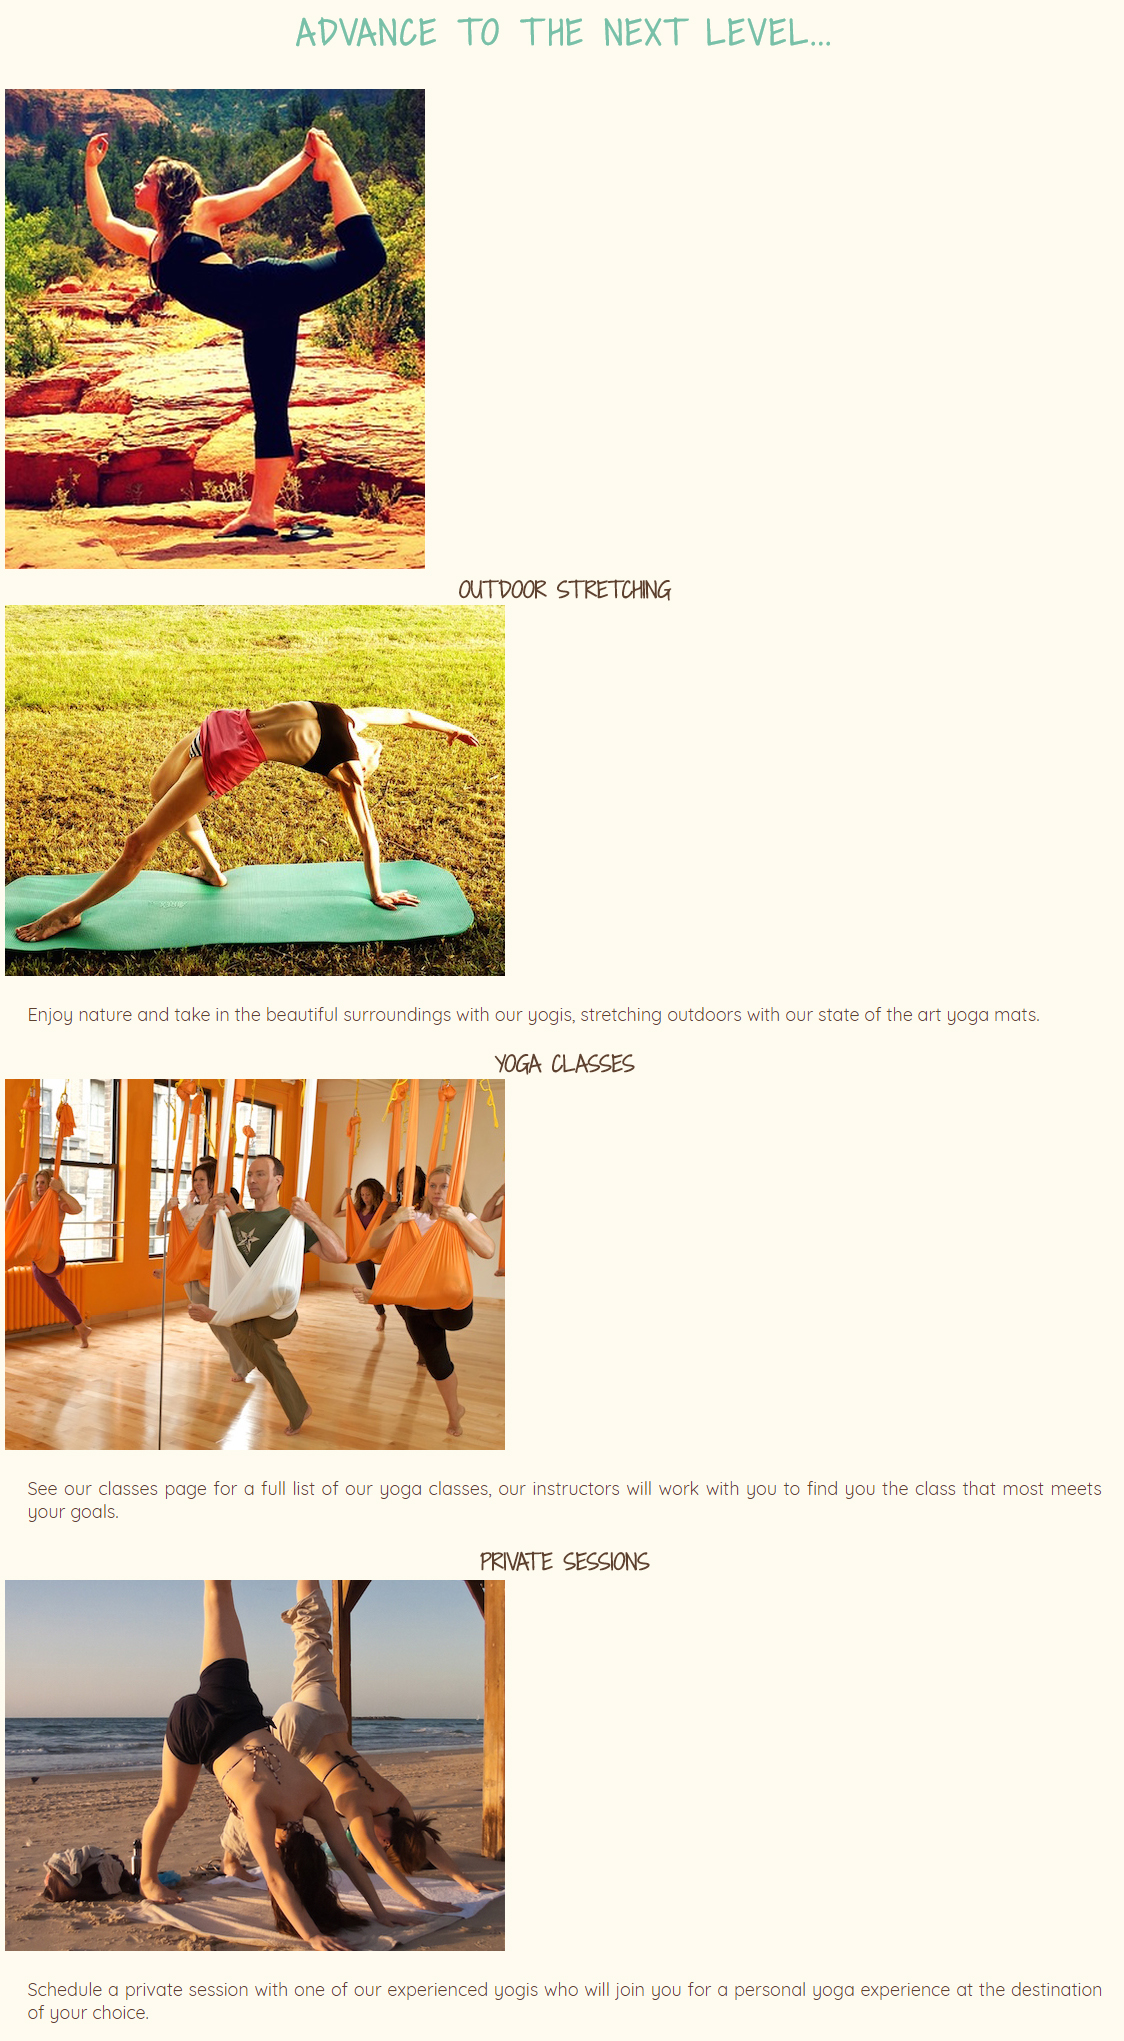
- At the end of video 3, your page should look like the images below.
May
Dharma Yoga Responsive HTML and CSS Website Tutorial
- OBJECTIVE: Use HTML5 and CSS3 to build a responsive website
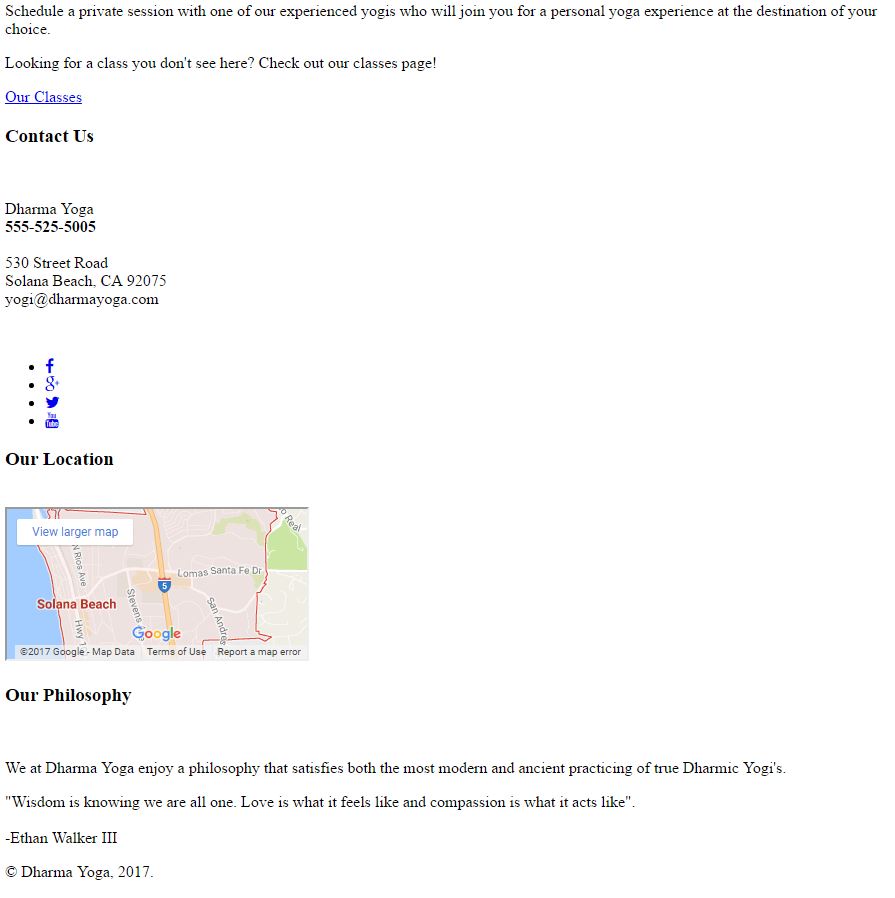
Dharma Video 4
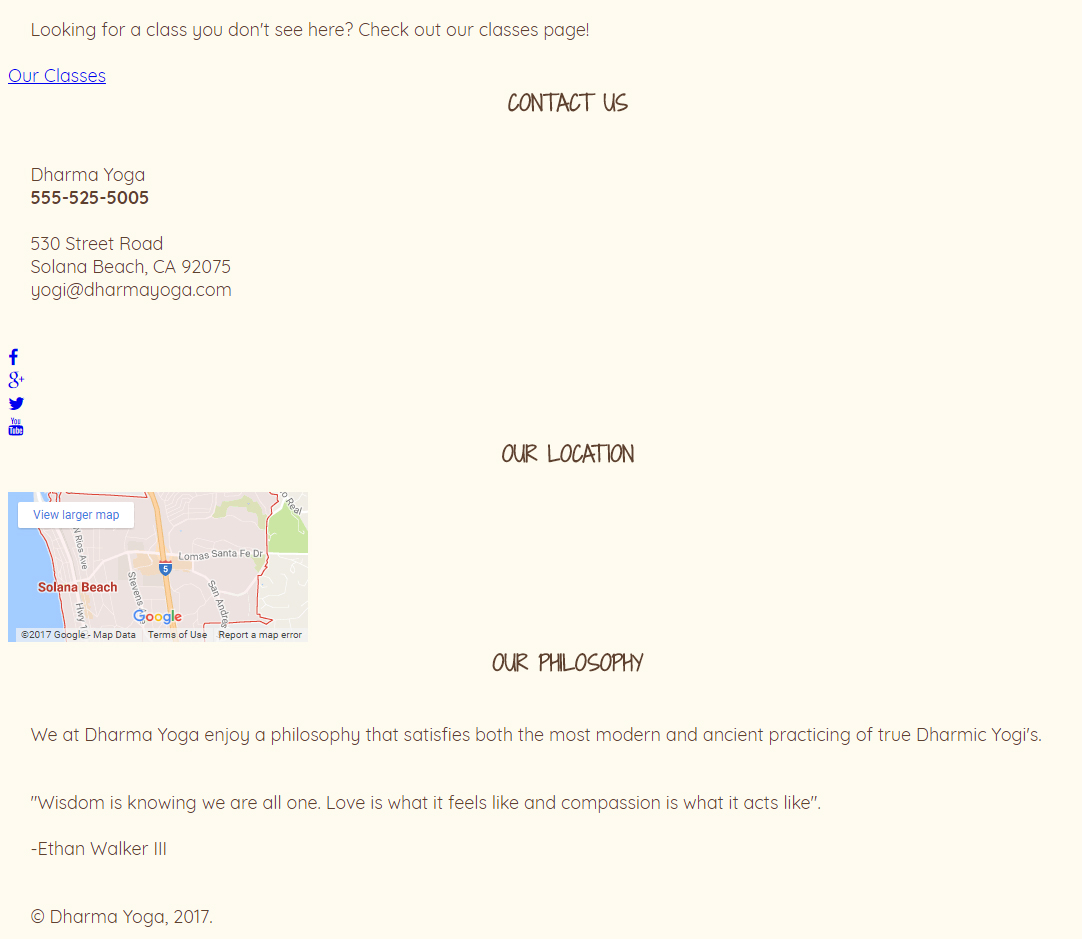
- At the end of video 4, your page should look like the images below. This only shows the bottom of the page, which was the only part of the html changed.
- Use the following for the social links.
 <ul class="social">

        <li><a href="https://www.facebook.com/w3newbie" target="_blank" title="Like Business on Facebook"><i class="fa fa-facebook"></i></a></li>

        <li><a href="https://twitter.com/DrewOnCue" target="_blank" title="Follow Drew on Twitter"><i class="fa fa-twitter"></i></a></li>

        <li><a href="https://youtube.com/user/DrewOnCue" target="_blank" title="Subscribe to Drew on YouTube"><i class="fa fa-youtube"></i></a></li>

        </ul>
May
Dharma Yoga Responsive HTML and CSS Website Tutorial
- OBJECTIVE: Use HTML5 and CSS3 to build a responsive website
Dharma Video 5
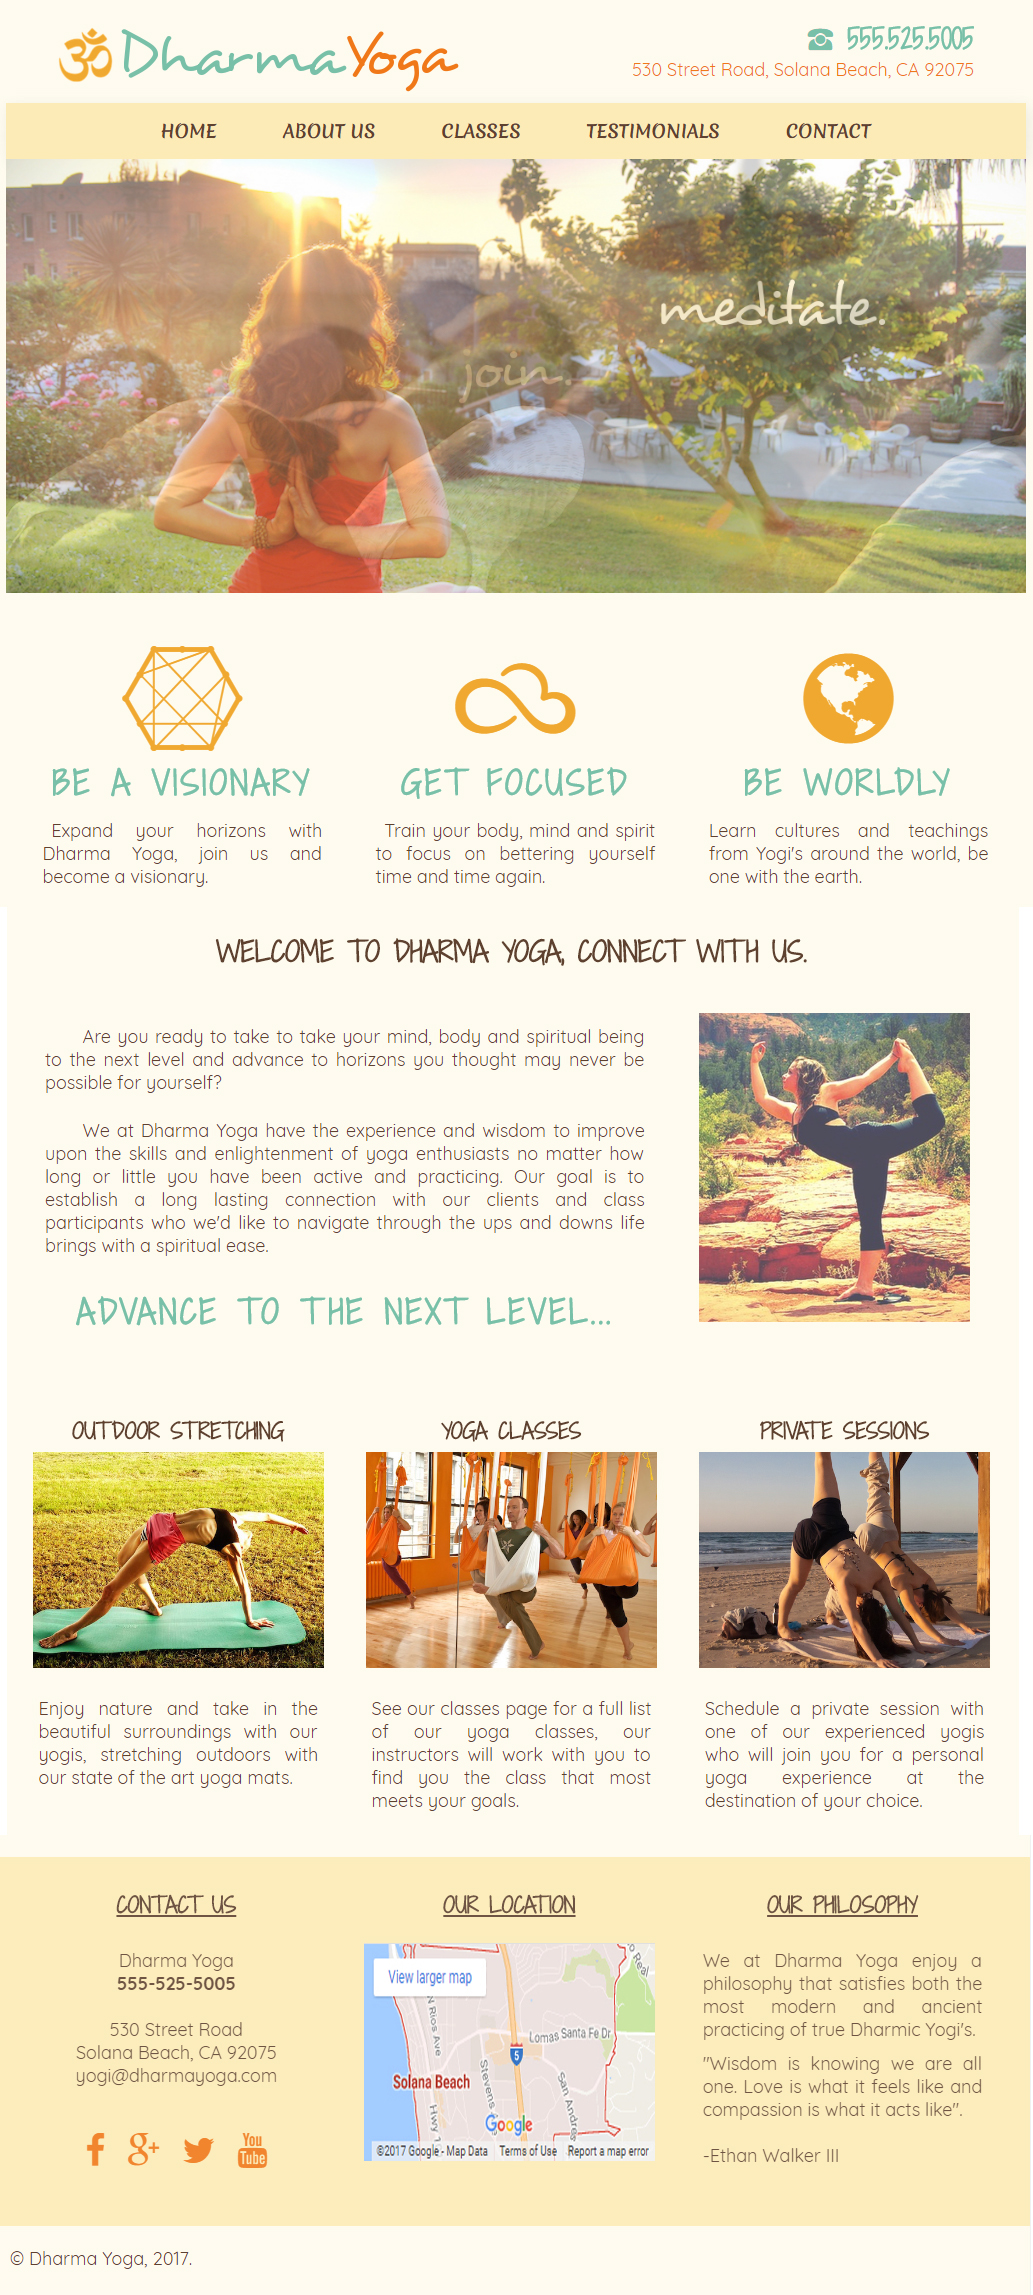
- At the end of video 5, your page should look like the images below.
May
Dharma Yoga Responsive HTML and CSS Website Tutorial
- OBJECTIVE: Use HTML5 and CSS3 to build a responsive website
Dharma Video 6
- At the end of video 6, your page should look like the images below.
May
Dharma Yoga Responsive HTML and CSS Website Tutorial
- OBJECTIVE: Use HTML5 and CSS3 to build a responsive website
Dharma Video 7
- At the end of video 7, your page should look like the images below.


May 19
Recreate your personal site
- The following pages will be graded today. Remember if you’re replacing them, you need to email me and tell me what your file name is.
- A place you have visited or want to visit in the world today or in history.
- Your favorite type of music or band.
- On Tuesday, the remaining pages will be graded.
- Your favorite movie or TV show.
- A book you have read or want to read.
- Something that you own that is important to you, or something you want to own. 19
Mar 17
Recreate your personal site
- Copy the folder Responsive for New Mysite from the student files folder to your folder.
- Your index page must be named index.html.
- You must use the carousel on the index page.
- Immediately above <nav> add this line of code: <p> </p>
- This will help create space for your links.
- This will help create space for your links.
- Modify the CSS so that it has a different look and feel from the Lingulo site.
- Include at least two style selectors (classes or IDs) that you have created on your own.
- Use the comment /*MY classes*/ and input your classes at the end of the stylesheet so I can find them.
- The changes to the appearance need to be obvious, not just a color change.
- Replace the icons and all content on the index page so it is yours.
- Replace all images on the index page with your own.
- The images should be high quality.
- Keep the footer for all pages but change the content.
- Change the social media to Instagram and Facebook.
- Link them to actual accounts. They do not have to be yours.
- You can use the following if needed
- https://www.facebook.com/thelowryhigh/
- https://www.instagram.com/lowryhigh/
- You can use the following if needed
- Add your own pictures to the carousel.
- This works best if you edit your images and make them all the same size so they display well.
- Make sure your pages are responsive. You will have to add some code to the CSS to control your images. This will also have to be done in the media query to make your images responsive.
- Show me.
- Other pages
- Home
- Links:
- The only thing in the content are of this page is 10 links to content related to your site, or pages you like. Your own pages do not count toward the 10.
- To create this page, open your index page and save it as links.html.
- Make sure to add this to all of the navigation.
- Pics
- To create this page, open your index page and save it as pics.html.
- Remove or comment out all sections of the page except the header, footer, and <section id="four_columns">
- Select the entire section, <section id="four_columns"> and copy and paste it twice so you now have a total of 12 pictures.
- Find 8 new pictures and remember you have to save a small and large version of each.
- Replace the exisitng pictures with your new pictures.
- Make sure to add this to all of the navigation.
- An issue that is important to you.
- To create this page, open your index page and save it as nameoftheissue.html.
- Make sure to add this to all of the navigation.
- The carousel is optional.
- Your favorite hobby or sport.
- To create this page, open your index page and save it asnameoftheactivity.html.
- Make sure to add this to all of the navigation.
- The carousel is optional.
- Your favorite holiday.
- To create this page, open your index page and save it as nameoftheholiday.html.
- Make sure to add this to all of the navigation.
- The carousel is optional.
- A place you have visited or want to visit.
- To create this page, open your index page and save it as nameoftheplace.html.
- Make sure to add this to all of the navigation.
- The carousel is optional.
- A prominent person in the world today or in history.
- To create this page, open your index page and save it as nameoftheperson.html.
- Make sure to add this to all of the navigation.
- The carousel is optional.
- Your favorite type of music or band.
- To create this page, open your index page and save it as nameofthegroup.html.
- Make sure to add this to all of the navigation.
- The carousel is optional.
- Your favorite movie or TV show.
- To create this page, open your index page and save it as nameoftheshow.html.
- Make sure to add this to all of the navigation.
- The carousel is optional.
- A book you have read or want to read
- To create this page, open your index page and save it as titleofthebook.html.
- Make sure to add this to all of the navigation.
- The carousel is optional.
- Something that you own that is important to you or something you want to own.
- To create this page, open your index page and save it as nameofthething.html.
- Make sure to add this to all of the navigation.
- The carousel is optional.
Feb 4
Tutorial: How to build a HTML5 website from scratch
- Objective: Build a responsive website
- Use Google Doc assigned in Google Classroom for the directions and save when instructed.
- Each day put a comment in the doc so you know where you left off.
- It states explicitly when you need to stop for a grade.
- The original is here http://www.lingulo.com/tutorials/css/how-to-build-a-html5-website-from-scratch. If you use any code from here, remember that it may be incorrect since changes have been made since it was orginally published.
Feb 3
Finish Photoshop yourself
Jan 27
Photoshop yourself
- OBJECTIVE: Use different methods to make selections in PhotoShop
- Find a well known historical image or one of a famous landmark or event and PhotoShop yourself into it. I have your school pictures if you need one. Or we can take a picture in class.
- Get permission from me for your idea before you start.
- You will be evaluated on the complexity of the image and the quality of your editing. This means you are not just cutting out your face and pasting it somewhere.
- You need to have at least three layers, utilize fX, use adjustments.
- Try to choose large images and zoom in when you are cutting.
- The picture can be put on your site if you choose.
- When you are done, export the jpg version and email it to me.
- Use the Subject, Photoshop of Me.
Jan 17
Remake one of the following images using Photoshop and/or Photopea
- OBJECTIVE: In PhotoShop or Photopea utilize various tools to recreate a given image.
- The explanation of the assignment can be viewed in here.
- Starter image files to download are available here as well as in the student_files https://drive.google.com/drive/folders/14FBPZgZN4ju7c1C4dl-dtq2gRUkSGQ2c?usp=sharing
- Save the images in your codesite assets folder.
- Match the dimensions of the image.
- Your cuts must be precise. Use multiple tools and make sure you zoom in.
- When you are done, export the jpg version and email it to me with the subject Photoshop.
- Forrest Gump
- The background is a California Wildfire.
- Adjust Levels and Hue/Saturation on Forrest.
- Apply drop shadow.

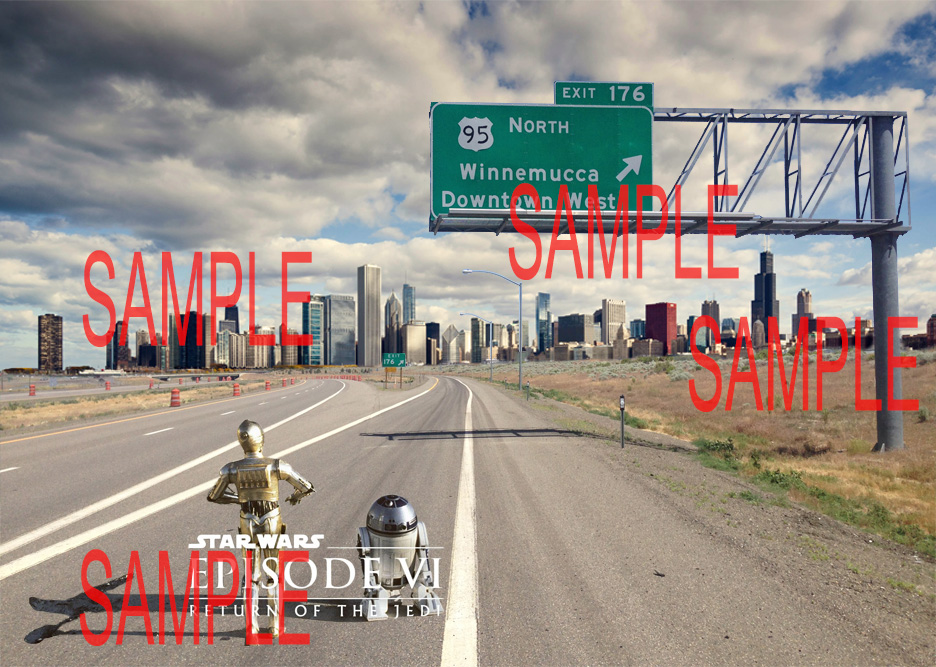
- Star Wars
- Jaws
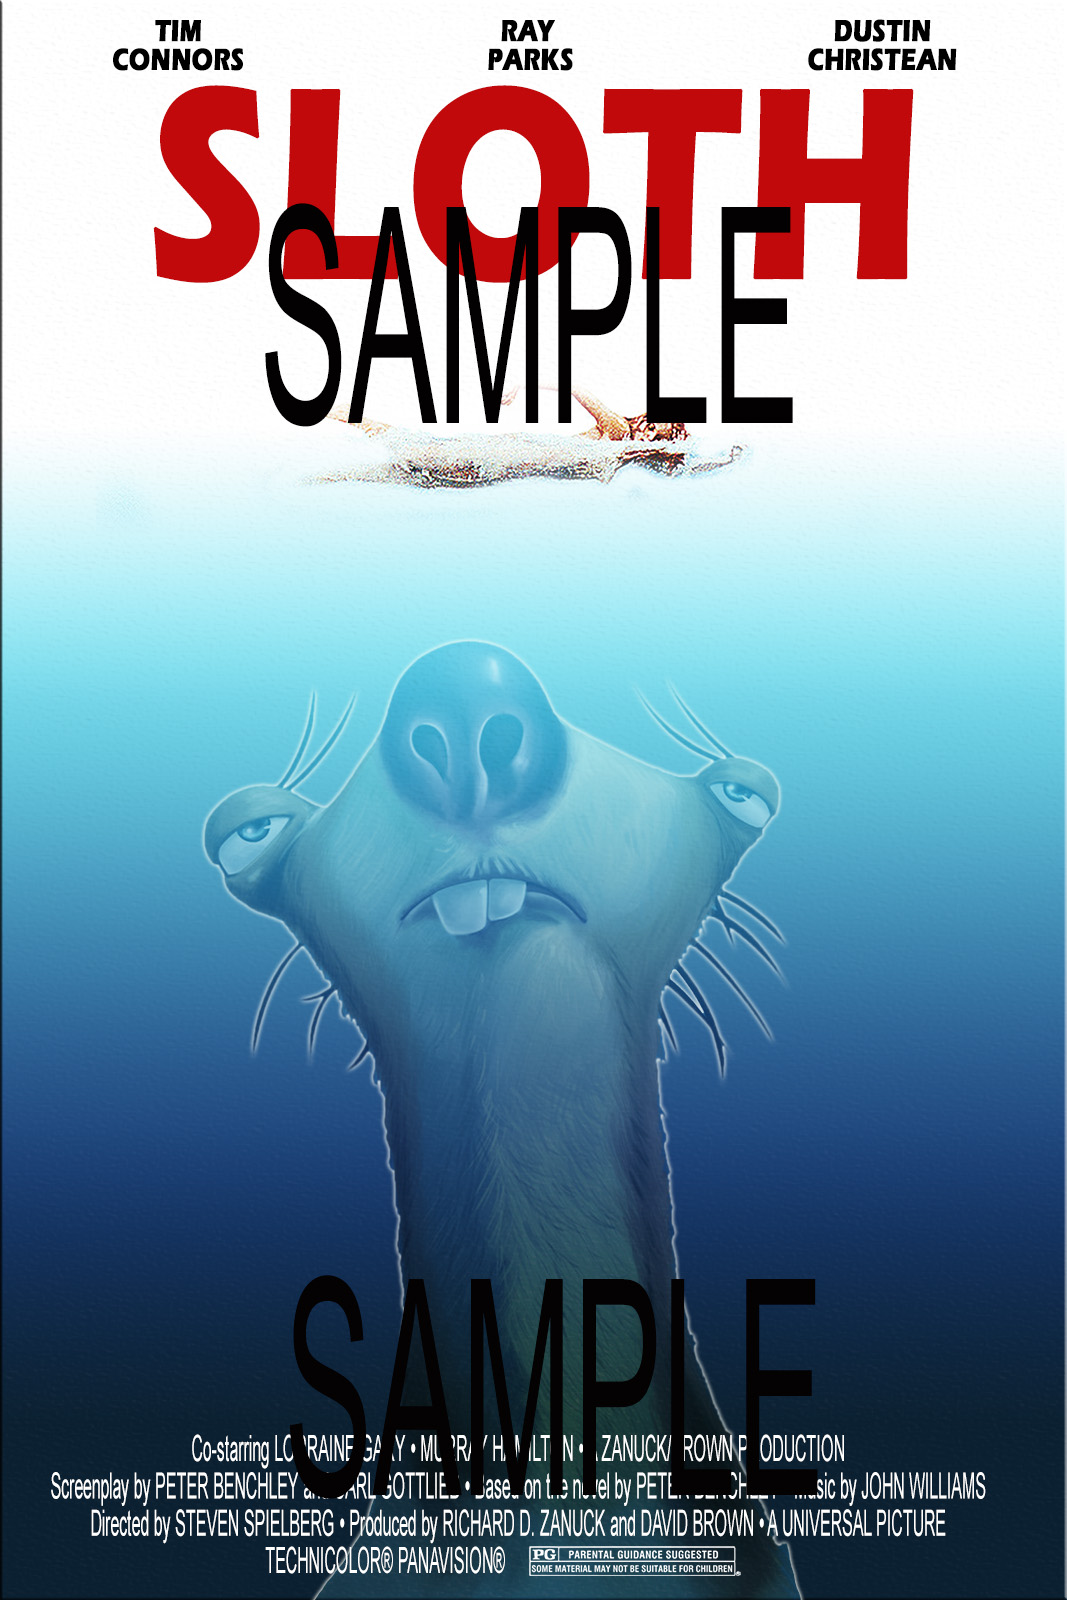
The Production Credits: Co-starring LORRAINE GARY • MURRAY HAMILTON • A ZANUCK/BROWN PRODUCTION
Screenplay by PETER BENCHLEY and CARL GOTTLIEB • Based on the novel by PETER BENCHLEY • Music by JOHN WILLIAMS
Directed by STEVEN SPIELBERG • Produced by RICHARD D. ZANUCK and DAVID BROWN • A UNIVERSAL PICTURE
TECHNICOLOR® PANAVISION®
- Home Alone
- Replace Kevin's face with your own. And change the faces of the guys in the window.
- Try to match skin tones

Jan 16
Complete final in Google Classroom
Jan 8
https://pathfinder.w3schools.com/
- Register
- Complete all activitieis for HTML and CSS
Jan 5
DUE: Create a 3-page website that looks like the image below
Dec 19
Create a 3-page website that looks like the image below
- Create a folder in your rm305 folder named w3quiz. Save all files in there.
- Use Visual Studio Code to create three pages.
- Include content for all areas of the pages.
- Include an image as a background for the header area (Cities)
- Include at least three images of each page.
- Create a CSS stylesheet linked to all pages to control the look and feel of all of the pages.

Dec 6
https://pathfinder.w3schools.com/
- Register
Dec 5
Complete test in code.orgDec 2
Complete the Web Site Rubric for your siteCopy your pages from code.org to Visual Studio Code
- Video of these directions
- Go to the room305 network directory and create a new folder named codesite. This will hold all of the files from your code.org site.
- Inside this new folder create an assets folder to hold your images.
- Open each of your pages in code.org.
- Copy the code and paste it into a new page in Visual Studio Code.
- Save the file using the same name you used in code.org and save it to your new codesite folder. If you do not use the same filenames, your links will not work.
- Make sure you save your stylesheet(s).
- Download all of your images to your assets folder.
- Change the code for your images to include the assets folder.
- If your code is
<img src="jeans1.jpg" alt="The best jeans on the market">it would become<img src="assets/jeans1.jpg" alt="The best jeans on the market">
- If your code is
- Preview all of your pages and make sure they are working.
- Make sure all of them have a
<title>This is the page Title</title>within the<head></head>tag. - Make any other adjustments you would like.
Oct 29
Go to https://studio.code.org/home
- Create an account: https://studio.code.org/teacher_dashboard/sections/4801042/parent_letter
- Join the class
- Create your own accounts and join your section at:
- email me when you have joined the class.
- Create your own accounts and join your section at:
- Lesson 15: Exploring Web Pages NOT ASSIGNED
- Skip
- Lesson 16: Sources and Research DUE October 31
- Links and Research - Activity Guide in Google Classroom
- Internet Scavenger Hunt - Activity Guide in Google Classroom
- Lesson 17: Linking Pages DUE November 4
- Step 2: The link to the index must match the one on other pages.
- Step 6: Name the new page hairtips.html follow the comments in the code.
- Step 8: Complete all.
- When you are done, send me an email with the lesson number as the subject saying you are done.
- Lesson 18: CSS Pseudo-classes DUE November 8
- Step 6 Complete all
- Step 9 Complete all
- When you are done, send me an email with the lesson number as the subject saying you are done.
- Lesson 19: Planning a Multi-page Website DUE November 15
- You do not need to complete the lesson in code.org.
- Project Guide - Website for a Purpose in Google Classroom
- Lesson 20: Project - Website for a Purpose DUE November
- You must have at least six pages. Your home page plus five others. These are the pages you described in Lesson 19.
- Your navigation (menu) must be on each page and you must be able to get to any page from each page.
- Each page must be full of content. This must include text as well as images.
- Use at least two images per page but you must have information as well.
- Do not use copyrighted images. Find images that are free to use.
- You must have at least 10 different style selectors in your CSS. Each selector must have multiple properties. Meaning to more than just the minimum. The following are required.
- body, img, p, h1, h2, a, a:hover, a:visited
- You only have to create two of your own styles.
- Example
- When you are done, send me an email with the lesson number as the subject saying you are done.
- ***************DO NOT PROCEED Assignments not updated after this point ****************
- Lesson 21: Peer Review and Final Touches NOT ASSIGNED
- Post-Project TestDUE November
Oct 28
Quarter 1 Posttest
- Take the postest in Google Classroom.
- Must be done at school.
- Do not look up answers.
- This will also count as your Quarter 2 Pretest.
Aug 21
Go to https://studio.code.org/home
- Create an account: https://studio.code.org/teacher_dashboard/sections/4801042/parent_letter
- Join the class
- Create your own accounts and join your section at:
- email me when you have joined the class.
- Create your own accounts and join your section at:
- Lesson 1: Exploring Web Pages DUE August 23
- The Purpose of Websites - Activity Guide In Google Classroom
- Lesson 2: Intro to HTML DUE August 24
- When you are done, send me an email with the lesson number as the subject saying you are done.
- If there is a reflection assignment just type in a word and submit it.
- Skip Part D of Step 9
- Lesson 3: Headings and Lists DUE August 26
- When you are done, send me an email with the lesson number as the subject saying you are done.
- If there is a reflection assignment just type in a word and submit it.
- On Step 8, complete all activities.
- Lesson 9 should look like this.
- On Step 11, complete A, B, and C. Complete one of D, E F.
- Lesson 4: Digital Footprint DUE
August 29
- When Does Your Privacy Matter? - Activity Guide Google Classroom
- Social Sleuth - Activity Guide Google Classroom
- Only complete one of the users.
- Lesson 5: Mini-Project: HTML Web Page DUE September 10
- Project Guide 1 Google Classroom
- For Step 2, your page must meet the requirements in the directions.
- Follow this example.
- Lesson 6: Styling Text with CSS DUE September 6
- When you are done, send me an email with the lesson number as the subject saying you are done.
- For Step 12, skip Activity F.
- Lesson 7: Intellectual Property DUE September 13
- Licensing Your Work - Activity Guide Google Classroom
- Lesson 8: Using Images DUE September 18
- For step 7 of this lesson, complete A, B, C, and D. You can complete E, F, or G for extra credit. Please tell me if you do so.
- For step 8 of add a picture of something you're interested in.
- For Step 10 only complete A and B.
- When you are done, send me an email with the lesson number (Code Lesson 8) as the subject saying you are done.
- Lesson 9: Styling Elements with CSS DUE September 24
- When you are done, send me an email with the lesson number (Code Lesson 9) as the subject saying you are done.
- Step 4: You must add text-align, color, and at least one other property to the body rule
- Step 8: Add at least two other rules to the css with appropriate properties for both. Use hexadecimal color codes for these.
- Step 10: Complete activities A, B, C, D,
- Any of the last items can be done for extra credit but you must email me to tell me you did it.
- Lesson 10 Adding Style to a Webpage DUE
September 27
- Lesson 10 Project Guide - Adding Style to a Webpage complete in Google Classroom
- For the drawing of your site, keep it simple. You can make a wireframe sketch using the Draw tool in Google Docs.
- Examples
- Complete all activities in Lesson 1.
- You are only completing one of the activities in Lessons 2-5.
- When you are coding the page in steps 2-5 of the lesson use the code you created from Lesson 5. Just copy and paste it from one lesson to the other. Include the following rules in the CSS. (My example)
- body: change the background color and the text color
- h1, h2, h3: change the font family, font size and text color for all
- p: change the font family and font size
- ol: change the text color
- ul: change the text color
- Lesson 10 Project Guide - Adding Style to a Webpage complete in Google Classroom
- Lesson 11: CSS Classes DUE
September 30
- Step 8, only complete A and B
- When you are done, send me an email with the lesson number (Code Lesson 11) as the subject saying you are done.
- Lesson 12: Organizing Content with Flexbox DUE
October 11
- Step 9, only complete A, B, C
- When you are done, send me an email with the lesson number (Code Lesson 12) as the subject saying you are done.
- Lesson 13: Flexbox Children for More Control DUE October 18
- Only Complete Lessons 1-6
- When you are done, send me an email with the lesson number (Code Lesson 13) as the subject saying you are done.
- Lesson 14: Chapter 1 Project DUE
October 30
- Step 1, SKIP
- Step 2 This should be a continuation from previous activities. You can and should copy your code from those lessons.
- Step 3, SKIP.
- When you are done, send me an email with the lesson number (Code Lesson 14) as the subject saying you are done.
- Example 1 Page
- Example 2 Page
Aug 20
Pretest
- Take the pretest in Google Classroom.
- Must be done at school.
- Do not look up answers.
Aug 19
Course requirements/expectations
- Syllabus: parents can sign ther verfication or email me at respinola@hcsdnv.com.
Assignment:
- Complete registration for websites below.
- Student Syllabus Verification
- Complete in Google Classroom
Join Google Classroom Join code.org
- You must sign in with your Google Classroom account.
- Go to www.code.org and click the 'sign in' button.
- Choose 'Continue with Google'.
- Sign in via the Google sign-in dialog.
- This will be used later for Digital Learning.
- https://quizlet.com/join/qgFDQgwgN?i=1ucocb&x=1rqt
- Use your real name for your Quizlet account so you can receive credit.